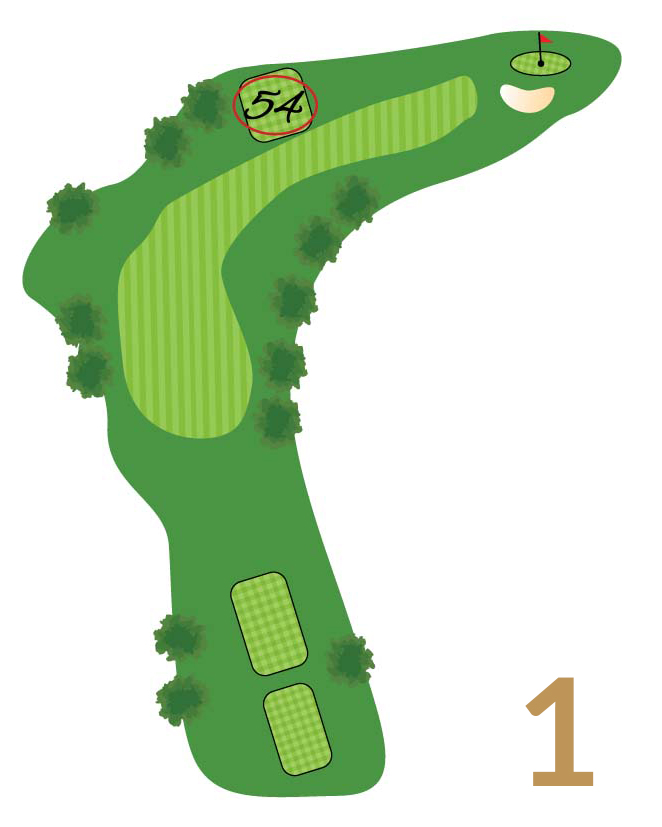
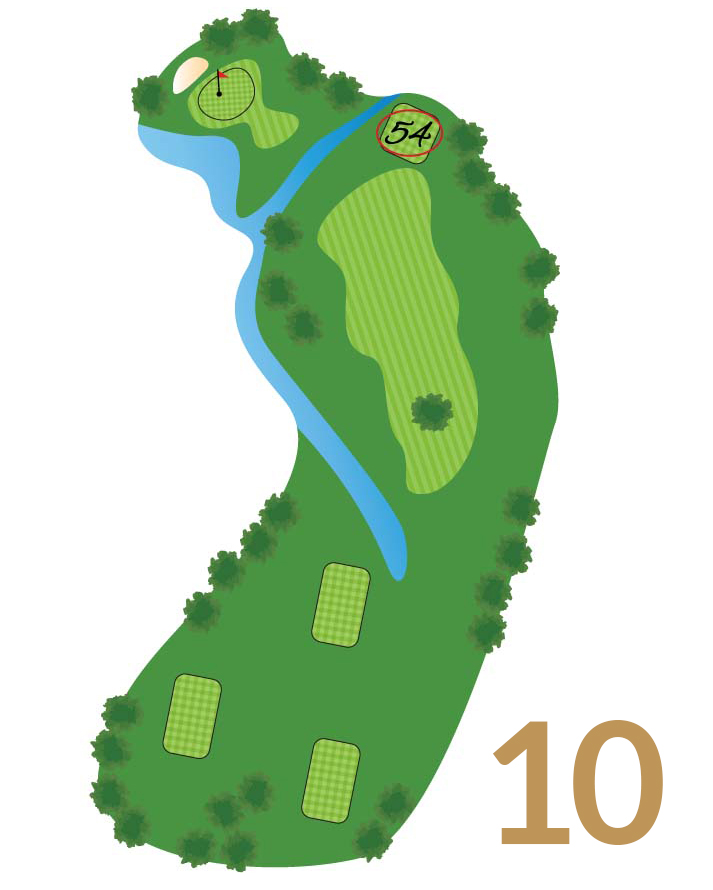
The hole turns slightly left and doesn’t love shots pushed right. A drive left-center gives you the best angle in. Miss the green short, and right is a tough way to say “welcome to Rochester.”
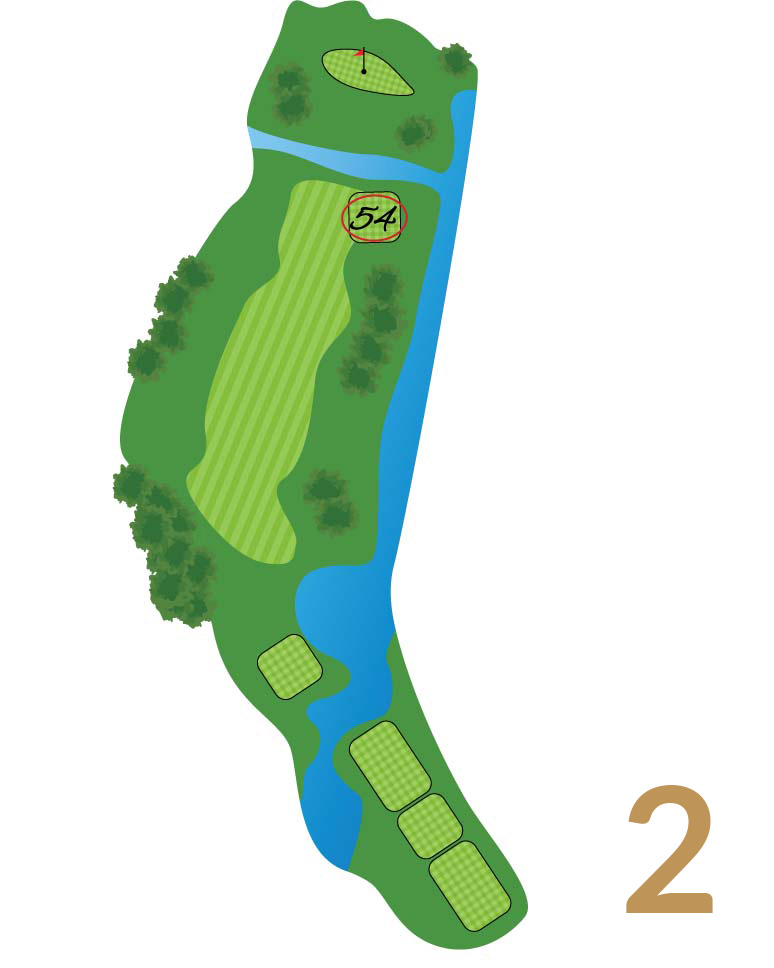
Water runs the entire right side, so favor the left off the tee. Laying up to a good number is never a bad decision here. If you’re going for it, commit—hesitation usually ends wet.
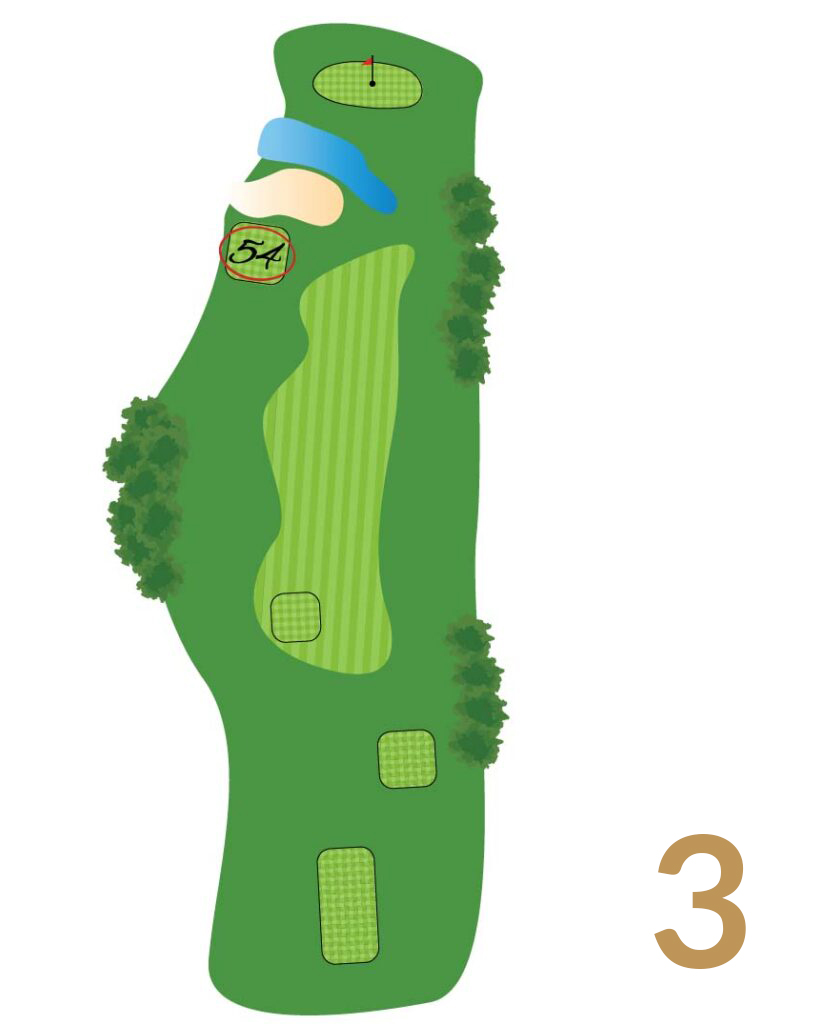
Accuracy off the tee matters more than length. The green is protected up front, so take enough club and aim middle. Chasing pins early in the round is how pars turn into conversations.
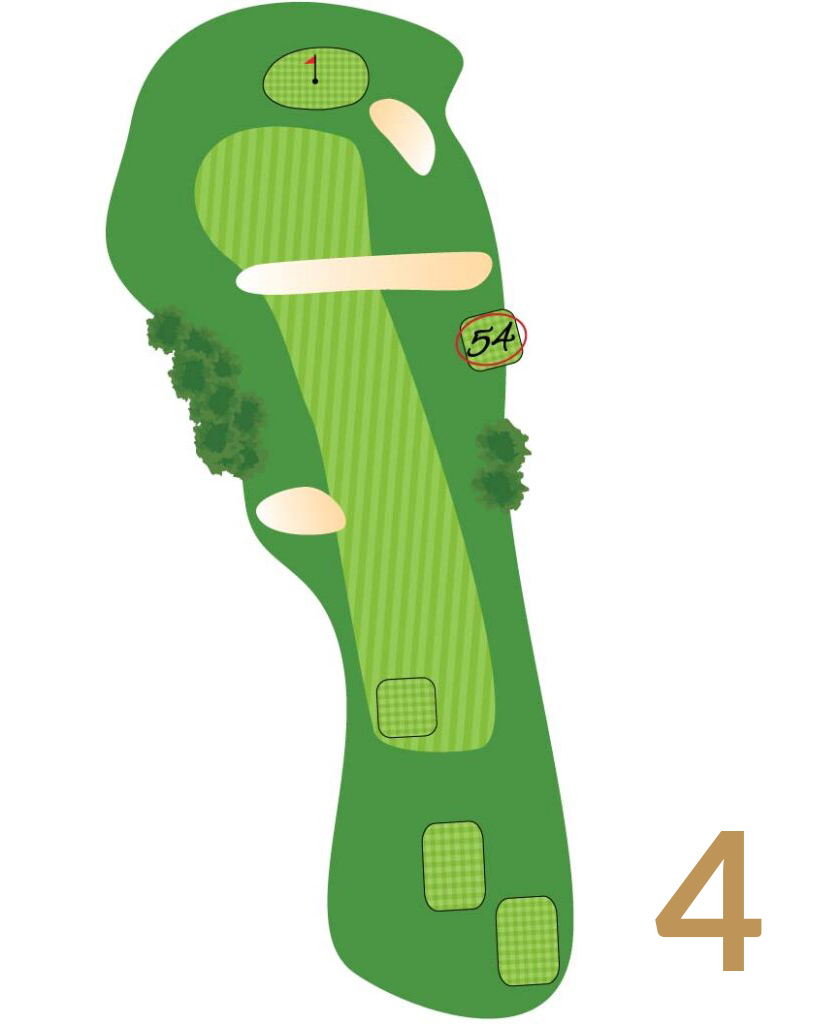
Position off the tee is key. A drive to the fairway sets up a manageable shot in, but don’t force it. The green is guarded, so missing short is always better than long. Bogey here usually comes from trying to get greedy.

Bunkers protect both sides, so don’t chase flags unless you’re feeling dialed. Pick a solid yardage, trust the swing, and take par—you’ll happily walk to the next tee.
A confident tee shot is rewarded, but anything leaked can find trouble quickly. Favor the safe side off the tee and swing smooth. From the fairway, this hole gives you a great chance—just don’t let the visuals mess with your head.
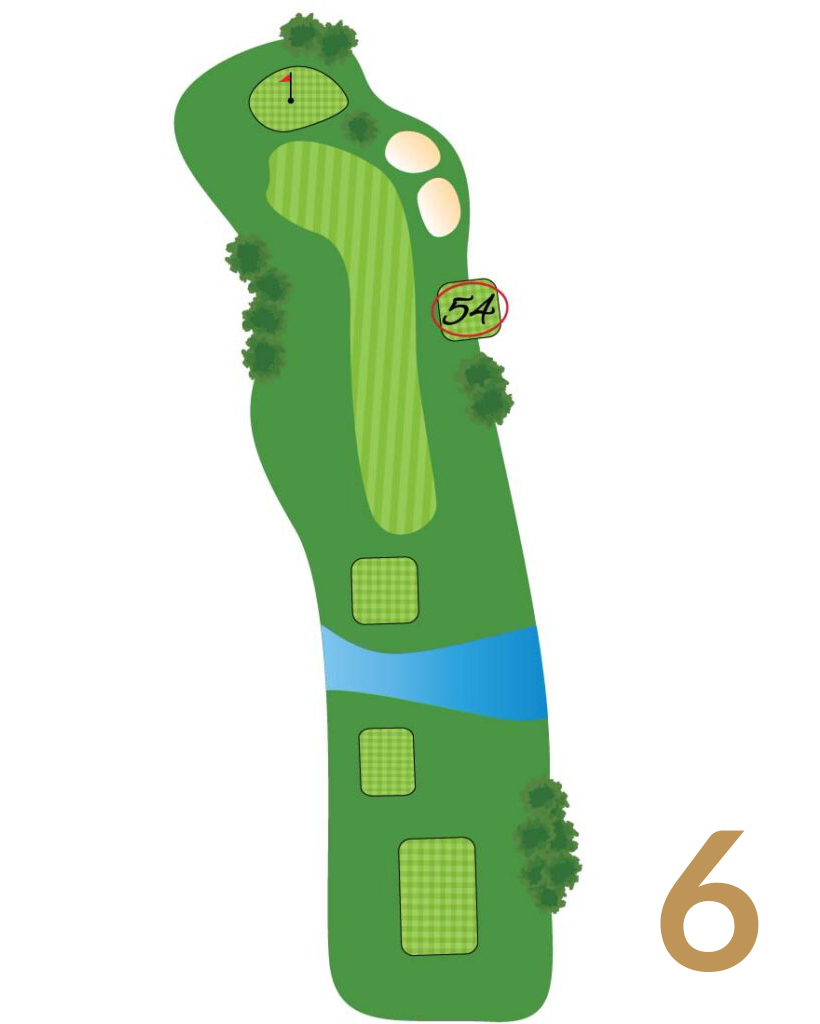
Water lurks on the left, so favor the safe side off the tee. A controlled drive leaves a clean look in. From there, pick a smart target—forcing distance usually turns a good hole into an interesting story.
Wind can be tricky here and the hole plays longer than it looks. Commit to your yardage, aim middle of the green, and enjoy the walk—par is a great score.

This hole rewards a plan. Off the tee, favor position over power. The aggressive line can pay off, but only if you’re feeling confident. When in doubt, play smart and take par into the turn.
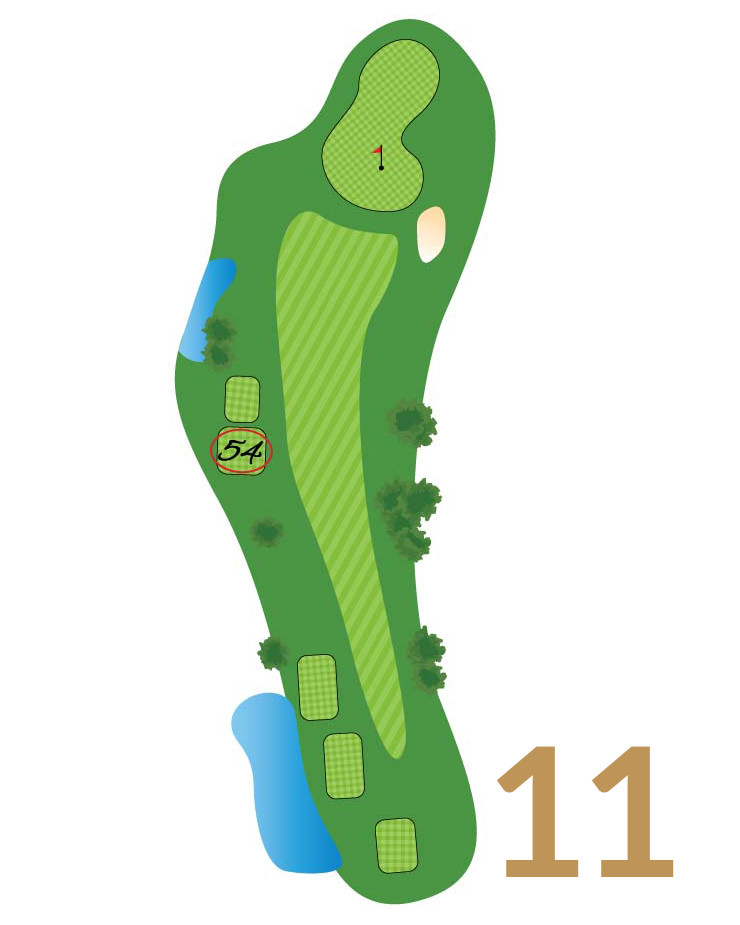
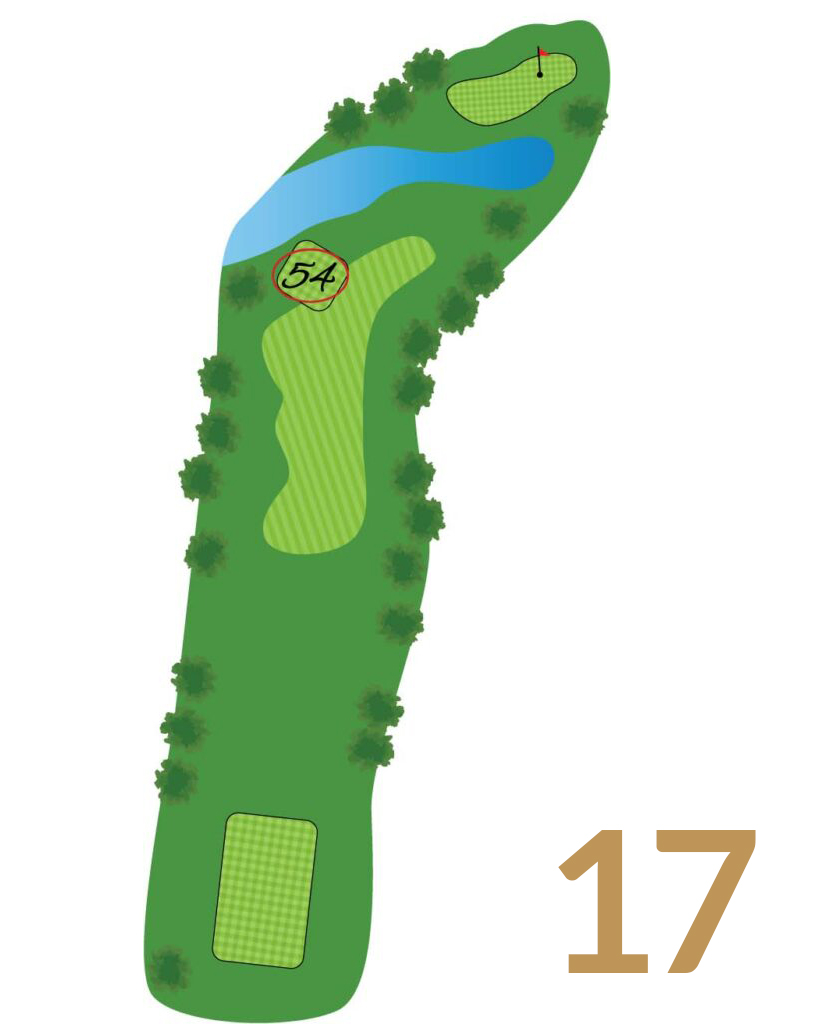
With water running along the hole, accuracy off the tee matters most. A fairway find near the 100-yard marker leaves an easy approach. Stay clear of the toughest bunker on the course left of the green, take one more club, and aim center. A steady start beats a spectacular mistake.
Grip it and rip it if you like, but this hole rewards smart decisions. A good tee shot sets up the hole, and patience on the second pays off. Play it in pieces and give yourself a look at birdie.

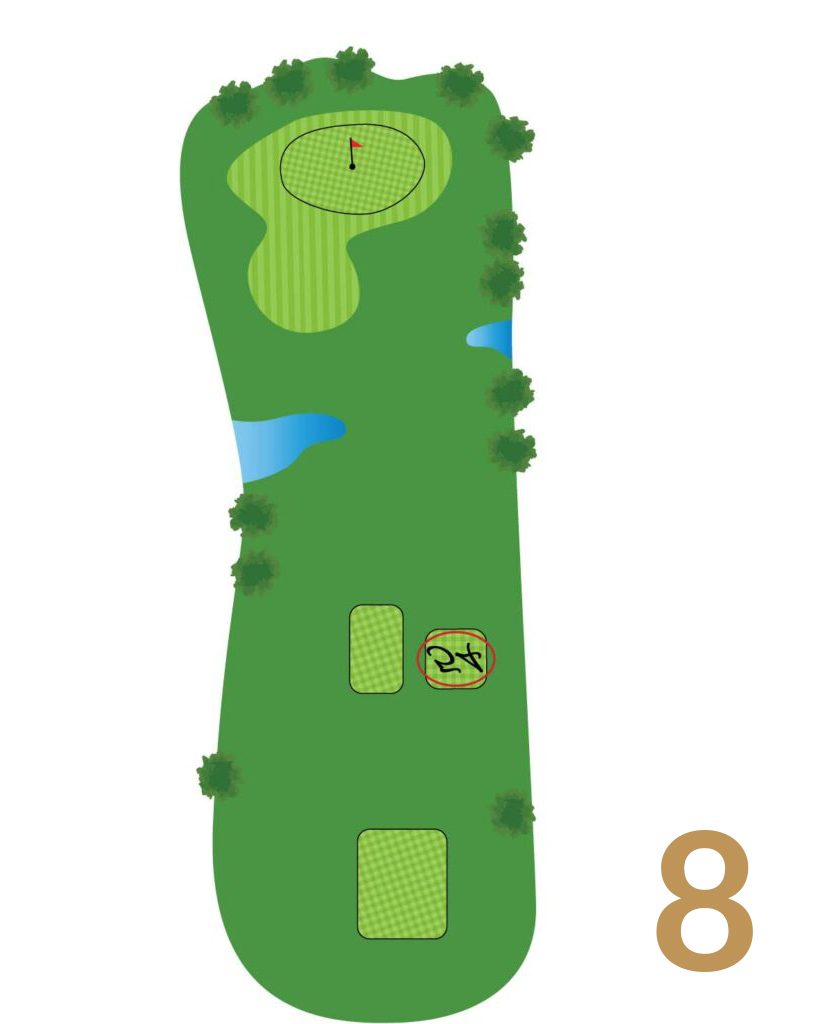
Water surrounds the front of the green and gets everyone’s attention. Pick your club, commit, and swing confidently. Short is wet, long is tricky—center is your friend.
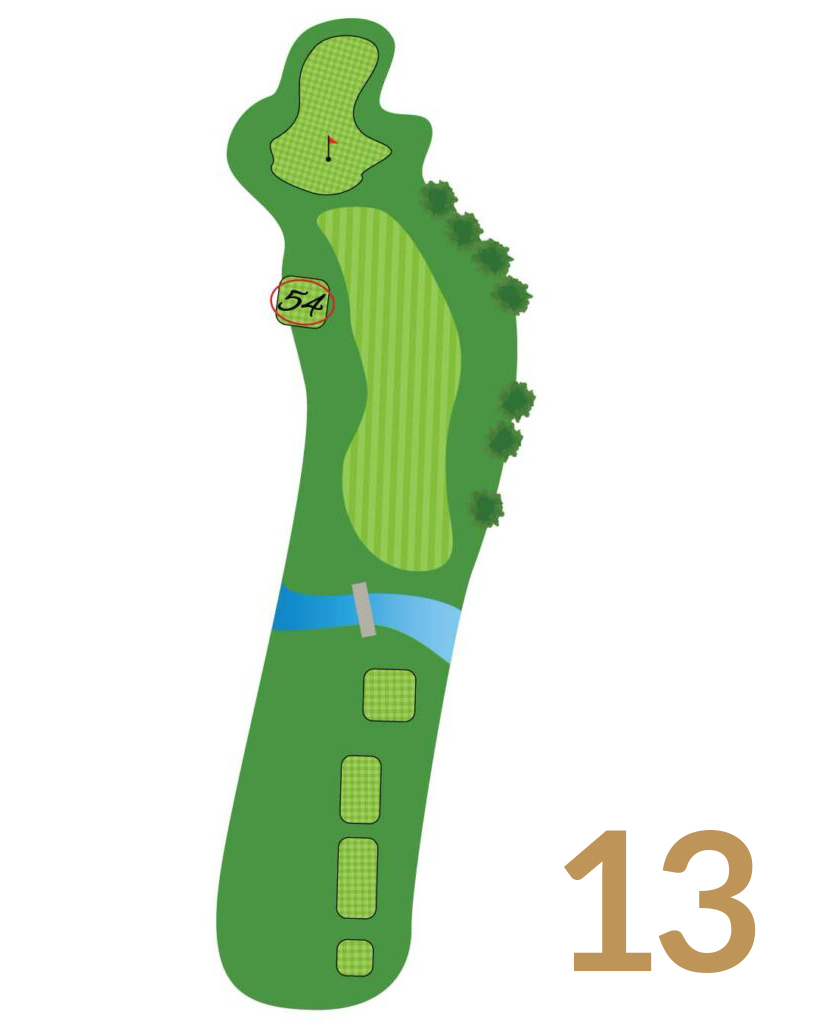
This hole tightens as it goes, so a smart tee shot is the real win. Favor the fairway and give yourself a clear look in. From there, aim middle of the green—short is manageable, left or right will often result in bogey.

Water is very much in play, especially short. Pick the right club, commit, and swing with confidence. Hitting the green is a great result, no matter where the pin sits.

A solid drive opens your options, but the second shot decides everything. If you’re going for it, commit fully. Laying up to your favorite yardage is never the wrong call here.
Avoid the bunker right , yell fore if further right. Trust the number, swing smooth, and aim for the center. Par here always feels earned—and usually gains ground on the field.
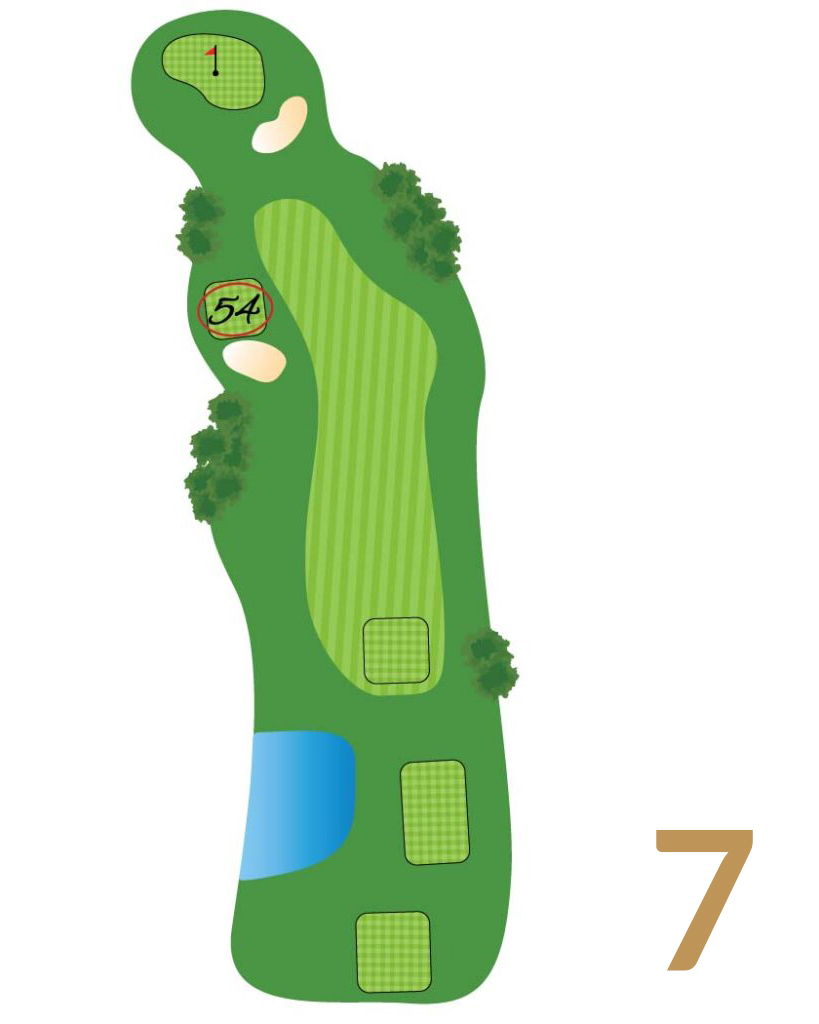
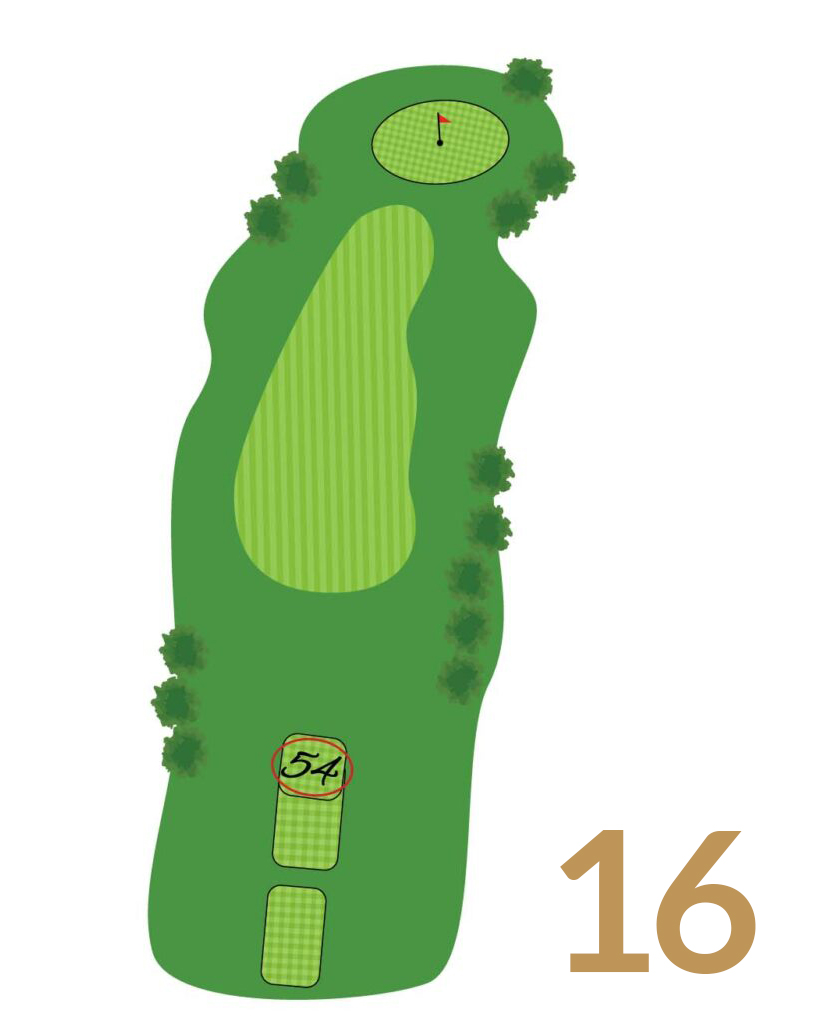
Water runs alongside and messes with your head, so pick a line and trust it. From the fairway, the approach is straightforward. Don’t hesitate or you will hit it in the water, a par here feels like a birdie!
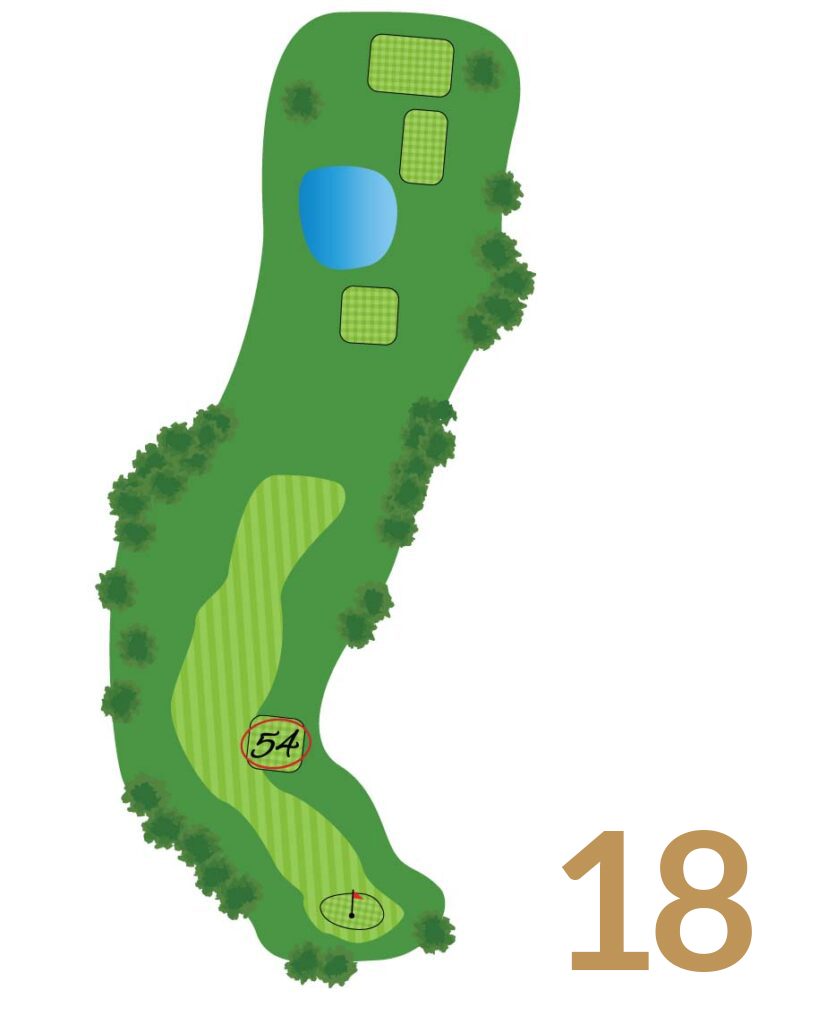
A good tee shot sets up one last solid approach. Don’t force anything—this hole rewards patience. Find the green, make par, and enjoy the walk in, then celebrate with great food and drinks at Parkside Grille.


